Adding and Managing Companies
In My Company, you can create and manage your Company. You can also add, remove or update details about your company. To go to the My Company page, follow these steps:
- Go to the ReBid ADP Homepage
- Click Settings from the left navigation
- Select My Company

On this page, you will find different sections, including Company Details, Naming Convention, Integration Partners, Company Wallet, Advanced Features, and Change History.

Company Details
The Company Details page has three sub-sections: General Information, Account Contact, Billing Information. In this section, Company Information is required.
General Information
You are required to fill these details in the General Information section:
- Company name: The name of the Company
- Company Code: A unique system-generated code of the company
- Company URL: Webpage address of the company
- Support Email: Email of the support team of the company. It is also used for contact or troubleshooting by the ReBid team.

Account Contact
In the Account Contact section, contact details of the primary business contact are required. You are required to fill these details:
- Contact Email: Email address of primary business contact
- Full name: Full name of the account, used as an identifier of the account
- Phone: Contact number of primary account

Billing Information
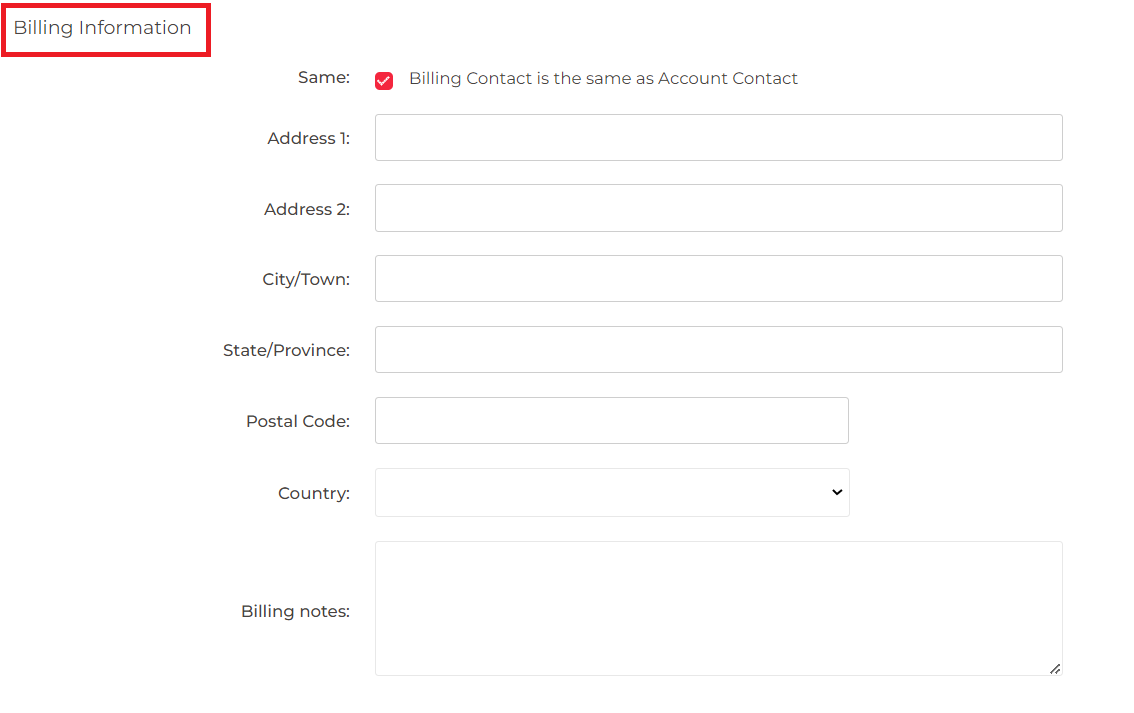
In the Billing Information section, the billing information of the Business/Company is required. If your billing information is same as Account Contact the mark the checkbox and fill the following details:
- Address 1: Line 1 of the billing address
- Address 2: Line 2 of the billing address
- City/Town: Name of City or Town
- State/Province: Name of State or Province
- Postal Code: Pin or Zip code of your area
- Country: Name of Country where Company is operating
- Billing notes: Billing notes, if any, for future reference.
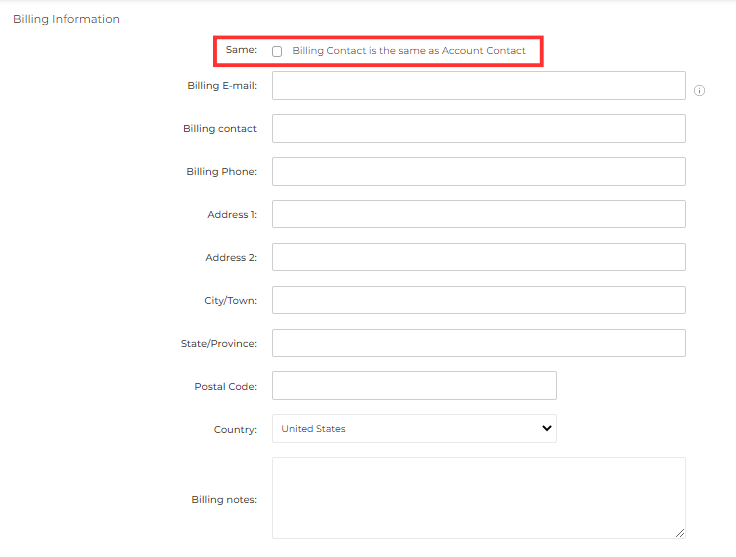
If your billing information is not same as Account Contact then leave the checkbox empty and fill the following details:
- Billing Email: E-mail of the Billing contact
- Billing Contact: Name of the Billing contact
- Billing Phone: Phone Number of the Billing contact
- Address 1: Line 1 of the billing address
- Address 2: Line 2 of the billing address
- City/Town: Name of City or Town
- State/Province: Name of State or Province
- Postal Code: Pin or Zip code of your area
- Country: Name of Country where Company is operating
- Billing notes: Billing notes, if any, for future reference.
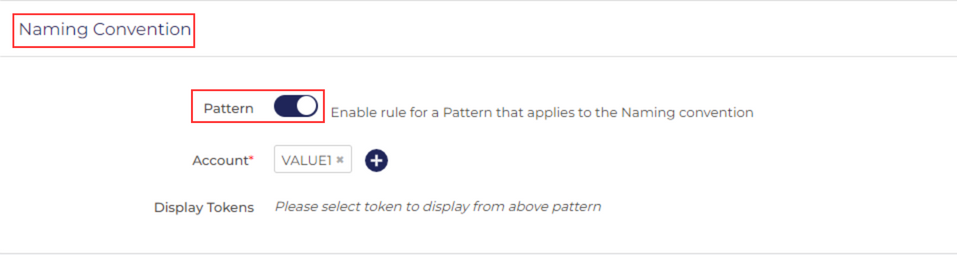
Naming Convention
Naming Convention is used to create rules such that Naming Conventions are followed in Media Plan and Campaign names.
Integration Partners
ReBid ADP enables you to integrate with multiple advertiser partners and manage them from one single platform.
Company Wallet
This section includes the budget of the Company allocated for Advertising. Click on Company Wallet to expand the Company Wallet section. You will find two sections in Company Wallet:
Assign Credit Limit
Fill in in the following details:
- Company Balance: It is the Company Balance at present.
- Assigned Credit Limit: The assigned credit limit by the company.
- Proposed Credit Limit: The proposed credit limit by the marketing team.

Credit limit Details
Fill in in the following details:
- Expiry Date: It is the expiry dateof the Credit
- Reference: You can attach documents and links for your reference.
- Notes: You can add Notes about the credit information

Credit limit History
It is the history of the increase and decrease in Credit Limit along with it’s Date, operation, from (currency), to(currency), changed by and Approved by.

Wallet Transaction History
The Wallet Transaction History includes the history of Transactions from the Company Wallet. It includes Date, Transaction, Credit, Debit and Balance in USD. You can also create a New Transaction.

Advanced Features
The Advanced Features access includes:
- Billing Entity: Toggle on or off to enable the raising of invoices from other entities
- Custom Data Science: Toggle on or off to enable custom Data Science for personalized data driven recommendations across campaigns and media plans.

Change History
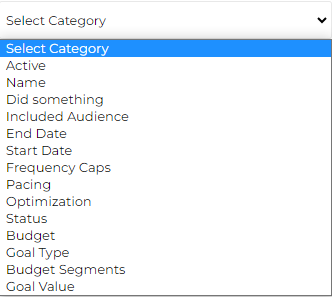
The Change History section contains a history of all the changes made and actions taken. It includes Date and Time, Category, Action, From, To and Changed By.
- Click on Change History
- Select Category and you will find a list of all the changes made till now

3. The Category contains different filters you can choose from.
Related Articles
Managing Access and Permissions
The permissions section contains different roles that can be assigned to the user. Each user has different permissions. There are various Resources and each resource has various permissions granted to it. The list of Resources is as follows: Term ...Creating and Managing Advertisers
Advertisers page shows a list of Advertisers, their Billing Country, Markets and how you can Manage them. To go to Advertisers page, follow these steps: Go to ReBid Homepage Click Settings from the navigation on the left. Select Advertisers ...Adding Users
ReBid supports role-based access privileges. In this, you can assign roles and permissions to different people to manage your advertising and marketing campaigns. This can be done through the Users page. To go to Users page, follow these steps: Go to ...Key Features and Functions
Introducing ReBid, the comprehensive MadTech suite empowering marketers with complete control over digital media buying, seamless integrations, and real-time insights for effective campaigns and ROI optimization. Elevate your advertising efforts with ...Insertion Order Details
IO Details refer to Insertion Order. The IO details tab can be accessed once the Media Plan Details have been successfully updated. It contains two sections, General Information, and Placement Details. General Information This section contains the ...