Notification Settings
To help you manage your campaigns and overall operations effectively, ReBid ADP is now offering a comprehensive notification and alert feature. This feature keeps you informed about the performance and status of your campaigns, as well as provides general notifications, including approvals, AI, system alerts, and more. It enables you to make informed decisions and take action when necessary.
Setting Up Alerts
The notification settings panel allows you to customize your alert preferences. Here's how you can set up alerts:
- Choose Alert Channels. Select how you want to receive notifications: email or in-app. You can choose both options if you prefer.
- Select Alert Types. Choose the types of alerts you want to receive. These include:
- New Campaign Fetched: Alerts for new campaign additions.
- Campaigns Swiveled: Alerts for campaign attachment or detachment.
- Import Success: Alerts for completed data imports.
- Media Plan Approval: Alerts for media plan budget exhaustion.
- Daily and Weekly Summary Reports: Daily and weekly summary report notifications.
- Review and Save: Once you've selected your desired alert channels, types, and filters, review your settings and click "Save" to apply your changes.
Receiving and Managing Alerts
You will receive real-time alerts via your chosen channels (email or In-App) whenever your conditions are met. The alerts will provide relevant information about the issue, including the affected campaign and the specific reason for the alert. They may also suggest recommended actions you can take to address the issue.
You can manage your existing alerts by going back to the notification settings panel. You can view, edit, or delete your previously set alerts here.
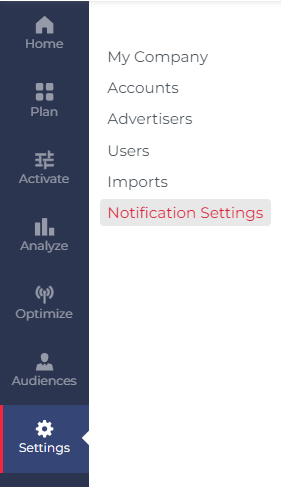
Accessing Notification Settings
- Go to the ReBid ADP homepage.
- Once logged in, look for the Settings option in the left navigation bar. Click on it to access the settings menu.
- In the settings menu, you'll find the Notification Settings option. Click on it to open the notification settings panel.
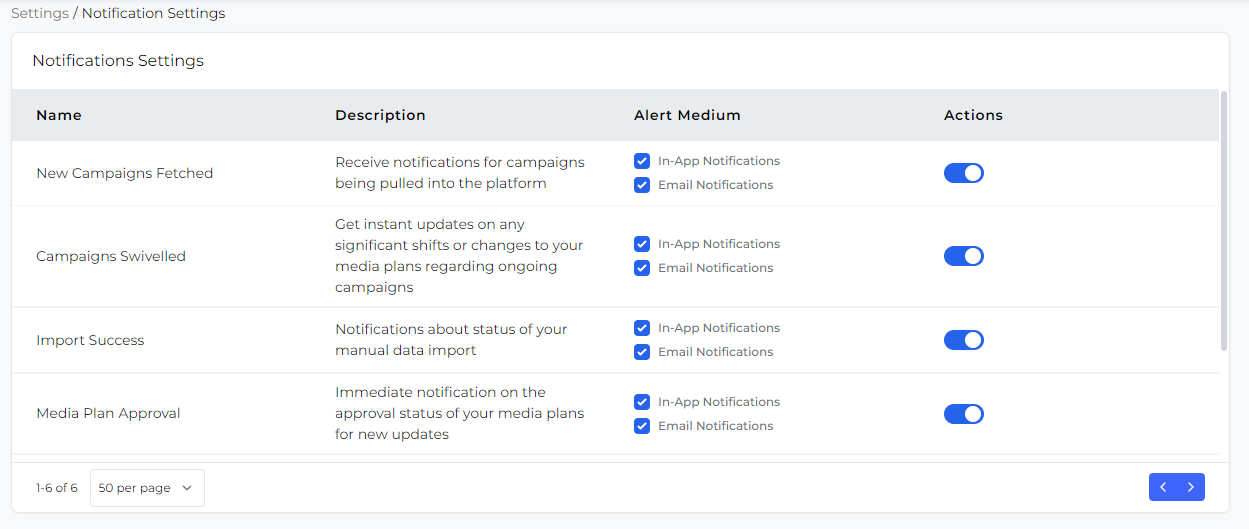
Understanding the Notification Settings Screen
The Notification Settings screen displays a list of available notifications, each with the following information:
- Notification Name: The descriptive name of the notification.
- Description: A brief explanation of the notification's purpose.
- Alert Medium: Indicates whether the notification is delivered via in-app alerts, email, or both.
- Actions Toggle: A switch to enable or disable the notification.
Types of Notifications
1. New Campaigns Fetched
Description: Receive notifications for campaigns being pulled into the platform.
Notification Settings
In-App Notifications: Enabled
Email Notifications: Enabled
Sample Notification
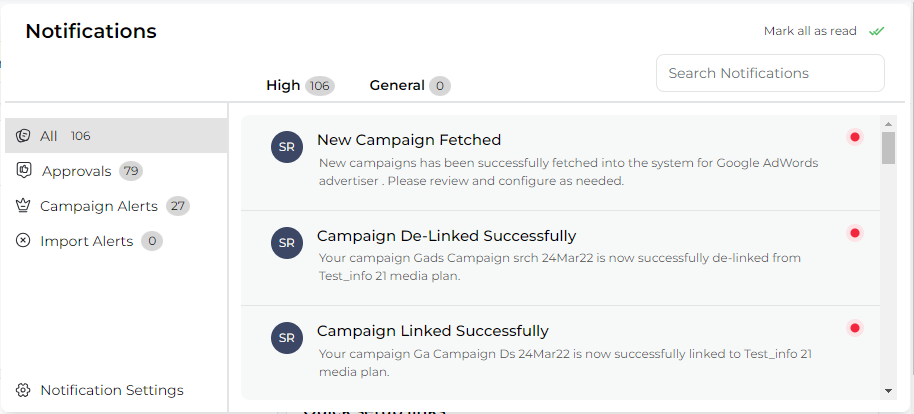
Title: New Campaign Fetched
Body: A new campaign '[Campaign Name]' has been successfully fetched into the system. Please review and configure as needed. [Link to campaign details]
2. Campaigns Swiveled
Description: Get instant updates on any significant shifts or changes to your media plans regarding ongoing campaigns.
Notification Settings
In-App Notifications: Enabled
Email Notifications: Enabled
Sample Notifications
1. Title: Campaigns Linked Successfully
Body: Your (n) campaigns are now successfully linked to {x} media plan.
2. Title: Campaigns De-Linked Successfully
Body: Your (n) campaigns are now successfully de-linked from {x} media plan.
3. Import Success
Description: Notifications about the status of your manual data import.
Notification Settings
In-App Notifications: Enabled
Email Notifications: Enabled
Sample Notification
Title: Data Import Successful
Body: Your data import for [x] has been completed. [n] records have been added.
4. Media Plan Approval
Description: Immediate notification on the approval status of your media plans for new updates.
Notification Settings
In-App Notifications: Enabled
Email Notifications: Enabled
Sample Notifications
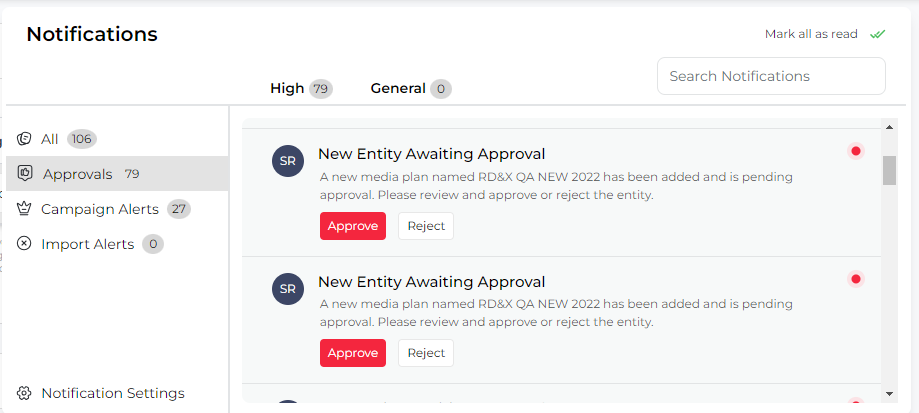
1. Title: New Entity Awaiting Approval
Body: A new entity named '[x]' has been added and is pending approval. Please review and approve or reject the entity.
2. Title: Media Plan Budget Alert
Body: The budget for the media plan '[Y]' is [X%] exhausted. Review and adjust the plan as necessary to maintain campaign momentum.
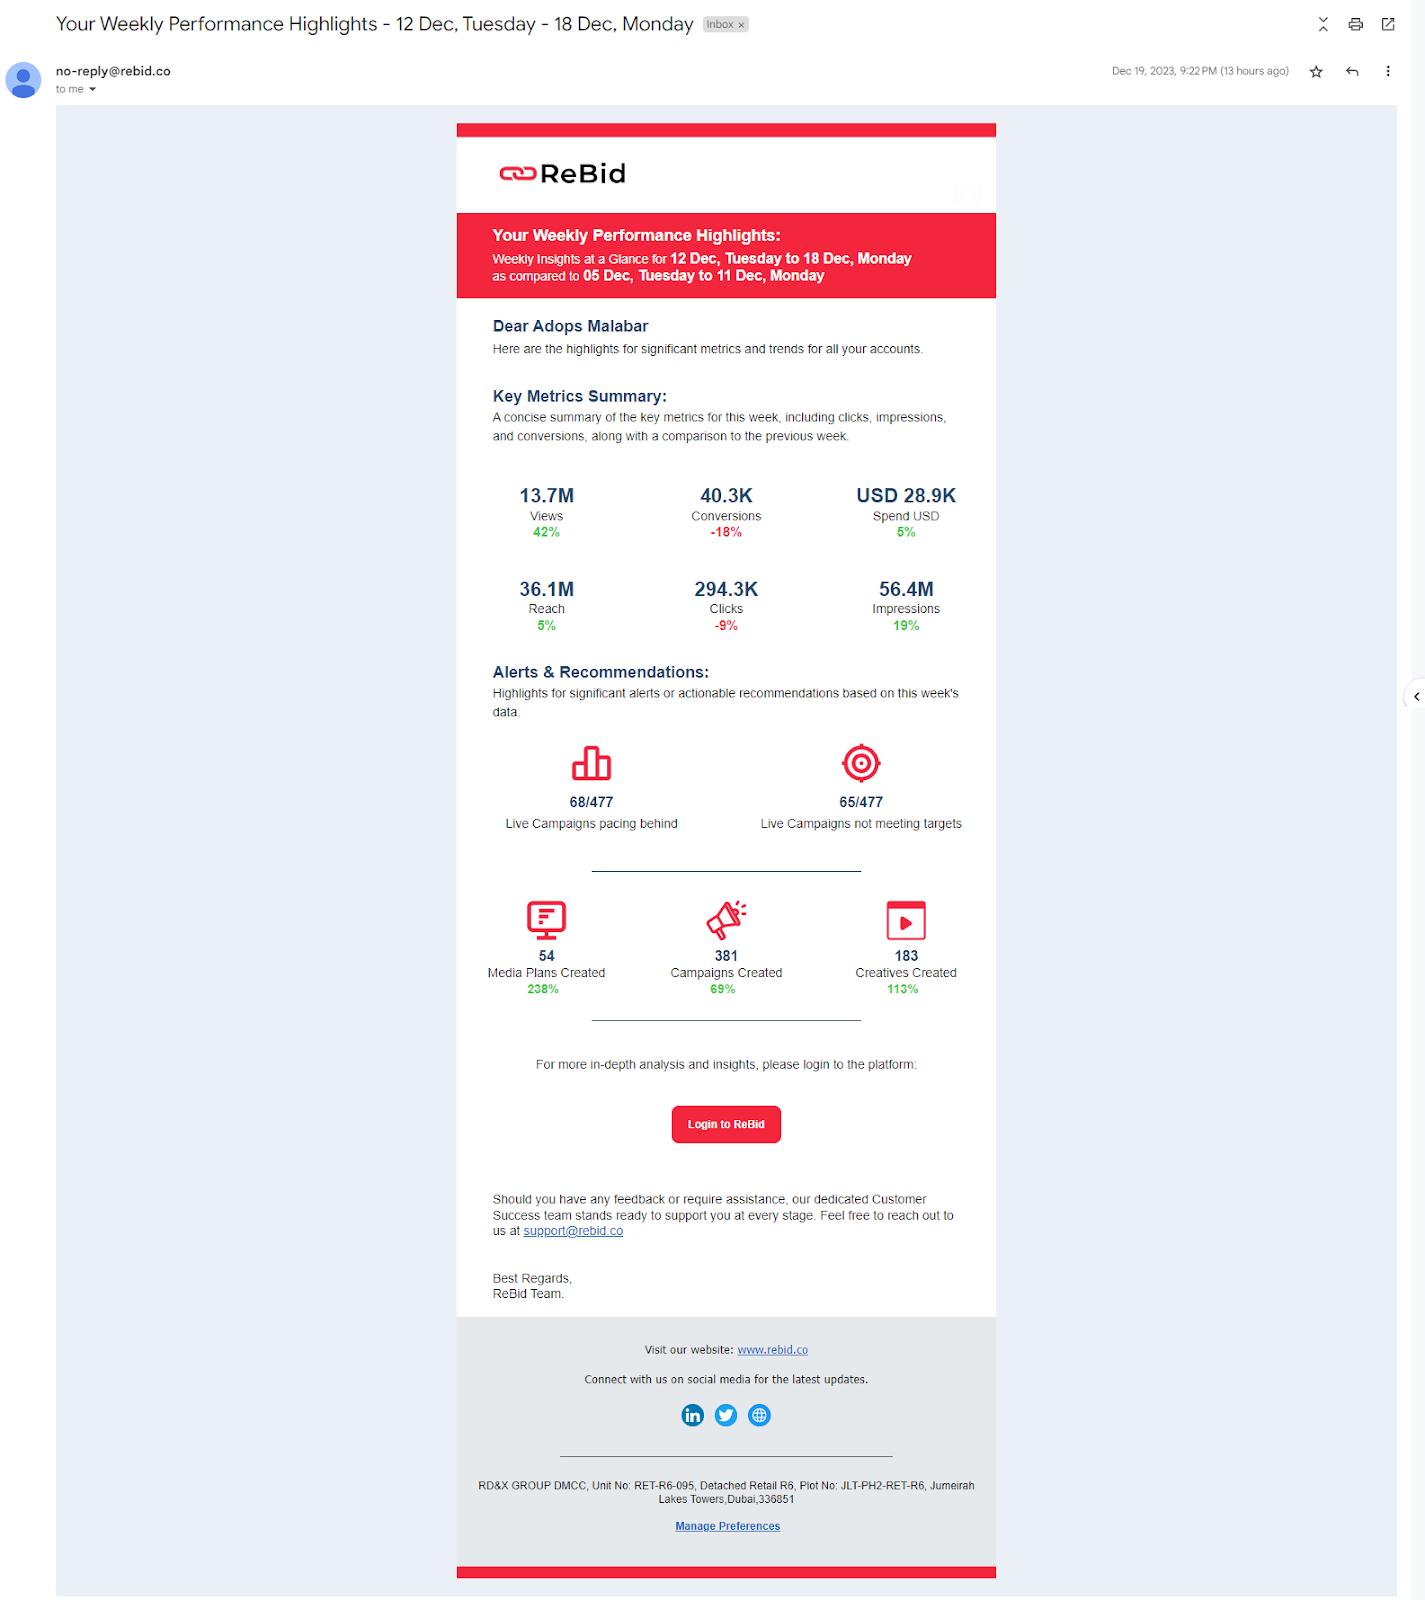
5. Weekly Summary Report
Description: A weekly comprehensive overview of performance and key analytics for accounts you have access to.
Notification Settings
In-App Notifications: Disabled
Email Notifications: Enabled
Sample Notifications
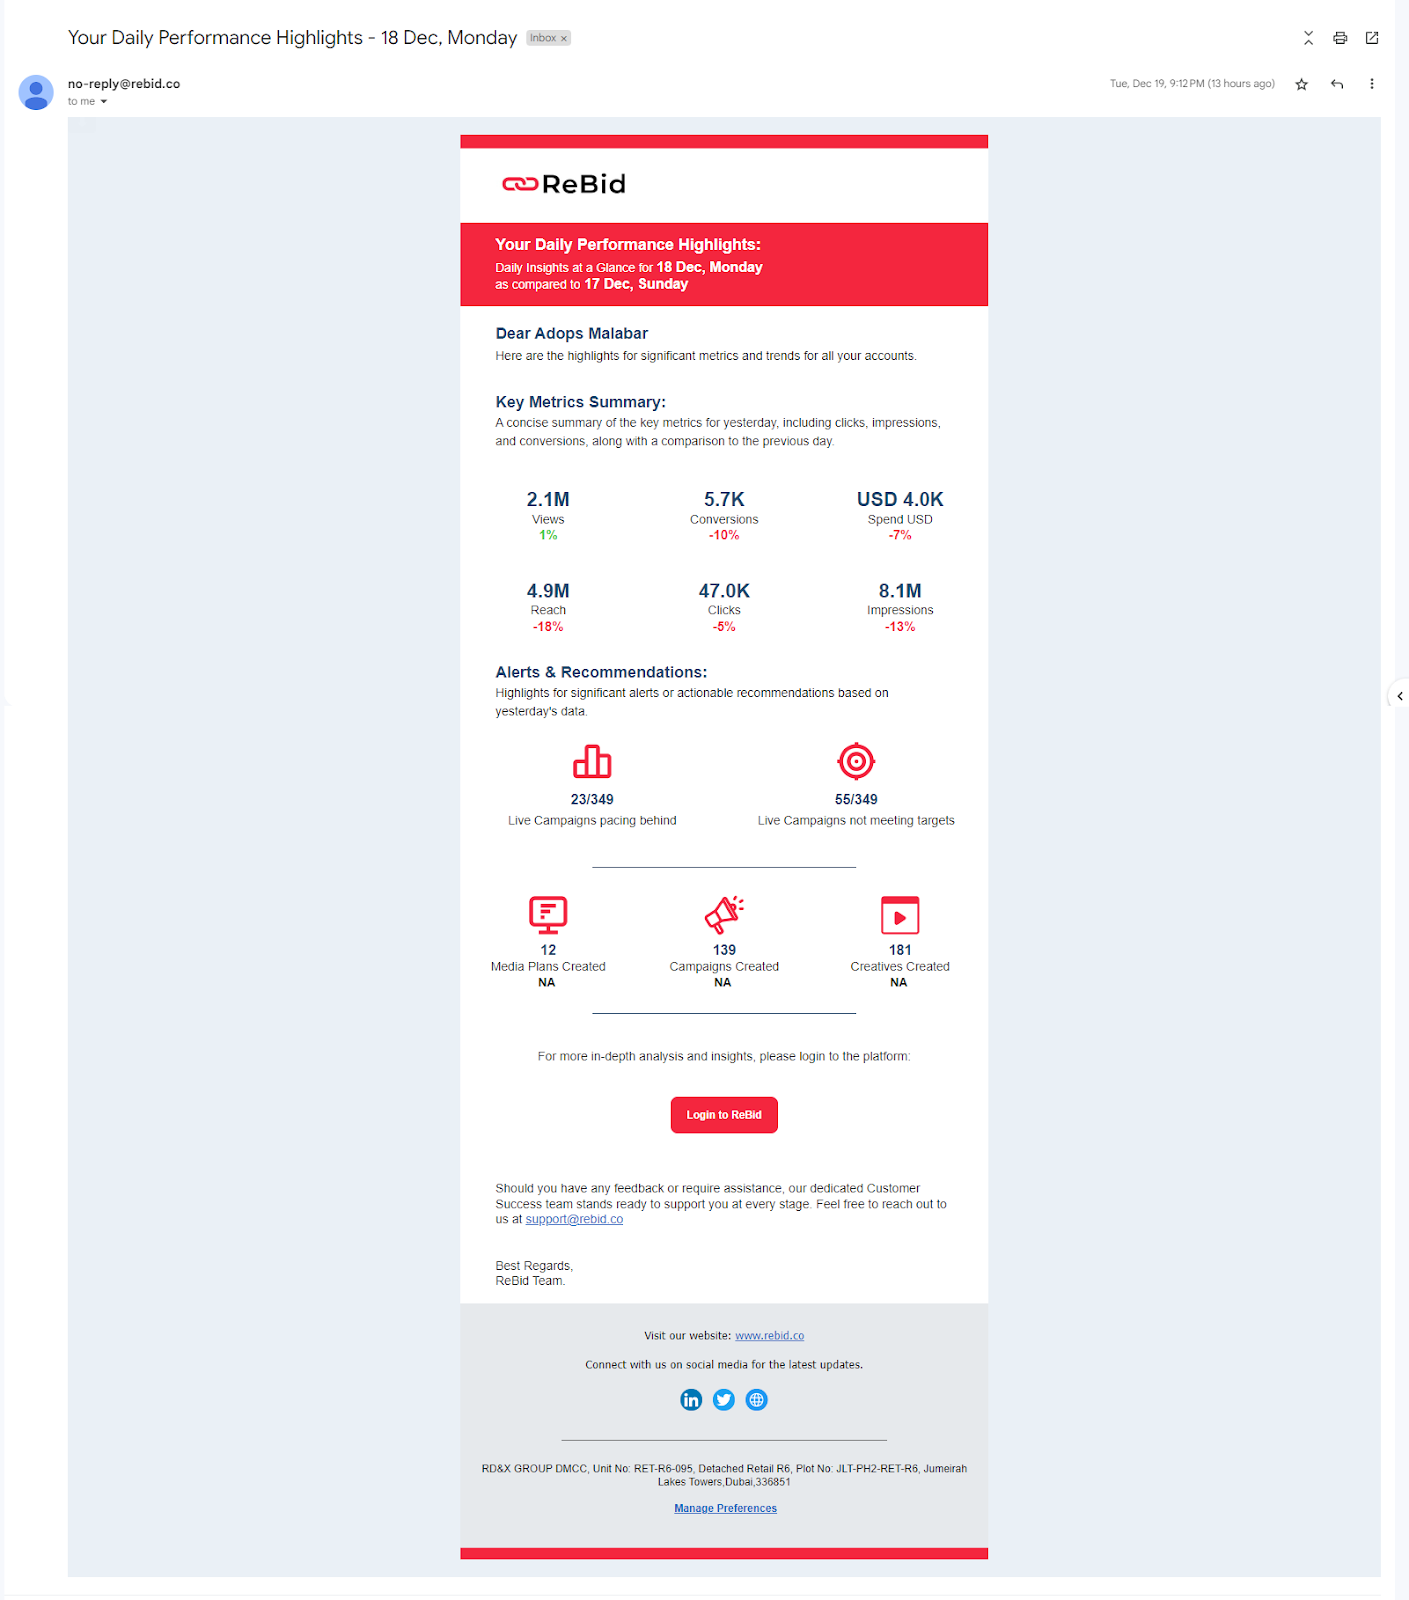
6. Daily Summary Report
Description: Daily update providing a snapshot of performance and critical metrics for accounts you have access to.
Notification Settings
In-App Notifications: Disabled
Email Notifications: Enabled
Sample Notifications
You can use the action toggle to turn the notifications on or off for each notification type as needed.

Note: Once a user enables a certain type of notification, they only receive notifications for things that are happening inside the accounts they have access to.
Accessing Notifications
To access Notifications:
- Find the Notifications option. It is located on the top navigation bar, and accessible from anywhere within the platform.
- Click on the Notifications button and you will see a popup window.
- In the Notifications Popup, you will be able to see the following options:
- On Left Navigation:
- All: View a list of all notifications across categories.
- Approvals: Manage notifications requiring your action, such as approvals or rejections.
- Campaign Alerts: Stay informed about campaign-related activities, including fetching, linking, and de-linking of campaigns.
- Import Alerts: Monitor the status of manual data imports.
- Priority Alerts: Distinguish between high-priority and general notifications.
- Search Bar: Quickly locate specific notifications using keywords.
- Mark All as Read: Clear the notification list with a single click.
- Notification Settings: Access Notification Settings by clicking the Notification Settings in the bottom-left corner.
Related Articles
Managing Access and Permissions
The permissions section contains different roles that can be assigned to the user. Each user has different permissions. There are various Resources and each resource has various permissions granted to it. The list of Resources is as follows: Term ...Connecting to Integration Partners
ReBid ADP enables you to integrate with multiple advertiser partners and manage them from one single platform. There are two ways you can connect with integration partners: Quick Setup Links or Settings from the navigation bar on the left. Quick ...Create and Manage Accounts
In a company, you can set up multiple accounts based on brands, geographical locations, etc. Let’s consider a parent company, ABC Corp., which has multiple brands. Each brand could have an account to pursue specific advertising and marketing ...Account Set up
In a company, you can set up multiple accounts based on brands, geographical locations, etc. Let’s consider a parent company, ABC Corp., which has multiple brands. Each brand could have an account to pursue specific advertising and marketing ...Creating Campaigns
To create and manage Campaigns: Go to ReBid ADP Homepage Click Activate from the left sidebar Click on Campaigns You can use various filters like Account, Advertiser, Media Plan, Integration partner, Channel and Status to search for Campaigns. You ...